How to create a SCHLIX CMS theme
SCHLIX themes are very easy to construct. In here, we assume that you have a basic understanding of PHP, HTML5/CSS3 and Javascript. Knowledge of CSS framework such as Bootstrap is also helpful.
Do the following steps to create a SCHLIX CMS theme from scratch:
- Create a new theme with Plugin Creator
- Learn the basics
- Structure
- Learn \SCHLIX\cmsPageOutput functions
- Learn Sample Layout 1
- Learn Sample Layout 2
- Edit your theme
- Export (if you want others to use it)
1. Create a new theme with Plugin Creator
You can save your time if you use Plugin Creator extension to create a SCHLIX CMS theme. You can create a theme without using the extension, but we recommend that you use it if you're new to SCHLIX CMS.
Have a 128x128 pixels transparent PNG icon ready. If you don't have one, look for a commercial-free icon from http://www.iconarchive.com.

Once you clicked Save, the theme will be generated in your /web/{site_name}themes/{theme_name} folder with pre-generated custom templates for blog, contact form, use profile, etc that you can customize further. When you click Save, it will generate a blank Bootstrap 4 theme identical to the companyprofile theme.

2. Learn the basics
a. Structure
Please note that when we use the word "theme", we refer to the whole theme that you created. There are various view template files and we refer these as "template" files.
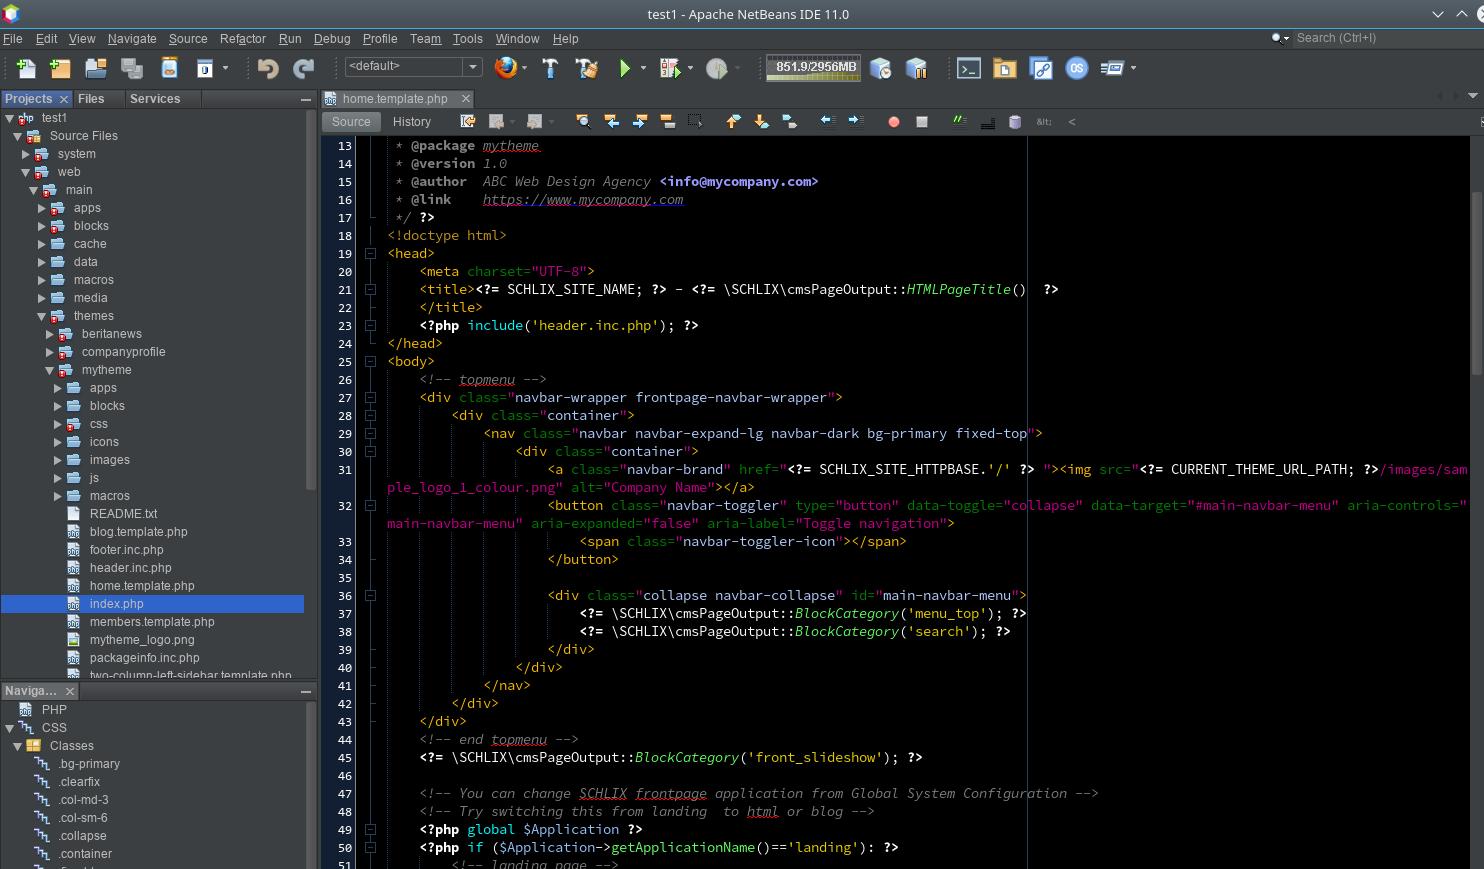
Inside your /web/{site_name}/themes/{theme_name} directory, you should have a minimum of index.php. You can embed the CSS if you’d like. Let’s suppose there’s a template called “ demo”.

Basic minimum requirements:
- A file called index.php that contains the basic layout of your template (see the figure above)
- If you need to create a separate template file other than index.php, it must have a .template.php extension. e.g. two-column.template.php. When you create this file, it will automatically listed in the menu editor under the Theme tab.
If you'd like to force an application within SCHLIX CMS to use a specific template file, you can change it from the Menu. The menu editor will automatically list the files that you created.
b. Functions
| SCHLIX\cmsPageOutput::HTMLPageTitle() | displays the title of the page |
| SCHLIX\cmsPageOutput::HTMLMetaKeywords() | displays the meta keyword of the page, app or site |
| SCHLIX\cmsPageOutput::HTMLMetaDescription() | displays the meta description of the page, app or site |
| SCHLIX\cmsPageOutput::BlockCategory('block_category'); | where the block category usually indicates the position of the block on the page. It can be top, bottom, left, right, or anything that you’ve defined in the Blocks Position editor. For instance, your website navigation menus is placed on the left side, so if you’d like to specifically display it, you may call the function SCHLIX\cmsPageOutput::BlockCategory('left'); |
| SCHLIX\cmsPageOutput::BreadCrumbs() | displays the navigation breadcrumb |
| SCHLIX\cmsPageOutput::ApplicationBody() | this function display the page content |
| SCHLIX\cmsPageOutput::HTMLHeader() | outputs all HTML Header tags (CSS, Javascript, etc). Do not use HTMLHeaderNonScripts() and HTMLFooterScripts() if you use this method |
| SCHLIX\cmsPageOutput::HTMLHeaderNonScripts() |
outputs all HTML Header tags except Javascript. Use in conjunction with HTMLFooterScripts() |
| SCHLIX\cmsPageOutput::HTMLFooterScripts() |
outputs Javascript at the bottom - place this function before the </body> tag |
c. Sample Layout 1
The following sample layout has all the CSS and Javascript at the top.
<html>
<head>
<meta charset="UTF-8">
<meta name="viewport" content="width=device-width, initial-scale=1.0">
<title><?= \SCHLIX\cmsPageOutput::HTMLPageTitle() ?></title>
<meta name="description" content="<?= \SCHLIX\cmsPageOutput::HTMLMetaDescription() ?>" />
<meta name="keywords" content="<?= \SCHLIX\cmsPageOutput::HTMLMetaKeywords() ?>" />
<?= $HTMLHeader->JAVASCRIPT_JQUERY3(true) ?>
<script src="<?= SCHLIX_SYSTEM_URL_PATH ?>/skins/bootstrap4/bootstrap.min.js"></script>
<script src="<?= SCHLIX_SYSTEM_URL_PATH ?>/skins/bootstrap4/bootstrap-submenu.js"></script>
<script src="<?= CURRENT_THEME_URL_PATH ?>/js/my-theme-script.js"></script>
<?= \SCHLIX\cmsPageOutput::HTMLHeader() ?>
</head>
<body>
<div id="navbar">
<?= \SCHLIX\cmsPageOutput::BlockCategory('menu_top') ?>
</div>
<div id="left-column">
<?= \SCHLIX\cmsPageOutput::BlockCategory('left') ?>
</div>
<div id="main-app-output">
<?= \SCHLIX\cmsPageOutput::BreadCrumbs() ?>
<?= \SCHLIX\cmsPageOutput::ApplicationBody() ?>
</div>
<div id="footer">
<?= \SCHLIX\cmsPageOutput::BlockCategory('footer') ?>
</div>
</body>
</html>
d. Sample Layout 2
Notice how at the top, instead of calling \SCHLIX\cmsPageOutput::HTMLHeader() , we use \SCHLIX\cmsPageOutput::HTMLHeaderNonScripts(). This means that everything including CSS tags except Javascript will be at the top and the Javascript tags will be moved to the bottom when we add \SCHLIX\cmsPageOutput::HTMLFooterScripts() ?> just above the </body> tag.
<html>
<head>
<meta charset="UTF-8">
<meta name="viewport" content="width=device-width, initial-scale=1.0">
<title><?= \SCHLIX\cmsPageOutput::HTMLPageTitle() ?></title>
<meta name="description" content="<?= \SCHLIX\cmsPageOutput::HTMLMetaDescription() ?>" />
<meta name="keywords" content="<?= \SCHLIX\cmsPageOutput::HTMLMetaKeywords() ?>" />
<?= \SCHLIX\cmsPageOutput::HTMLHeaderNonScripts() ?>
</head>
<body>
<div id="navbar">
<?= \SCHLIX\cmsPageOutput::BlockCategory('menu_top') ?>
</div>
<div id="left-column">
<?= \SCHLIX\cmsPageOutput::BlockCategory('left') ?>
</div>
<div id="main-app-output">
<?= \SCHLIX\cmsPageOutput::BreadCrumbs() ?>
<?= \SCHLIX\cmsPageOutput::ApplicationBody() ?>
</div>
<div id="footer">
<?= \SCHLIX\cmsPageOutput::BlockCategory('footer') ?>
</div>
<?= $HTMLHeader->JAVASCRIPT_JQUERY3(true) ?>
<script src="<?= SCHLIX_SYSTEM_URL_PATH ?>/skins/bootstrap4/bootstrap.min.js"></script>
<script src="<?= SCHLIX_SYSTEM_URL_PATH ?>/skins/bootstrap4/bootstrap-submenu.js"></script>
<script src="<?= CURRENT_THEME_URL_PATH ?>/js/my-theme-script.js"></script>
<?= \SCHLIX\cmsPageOutput::HTMLFooterScripts() ?>
</body>
</html>
3. Edit your theme
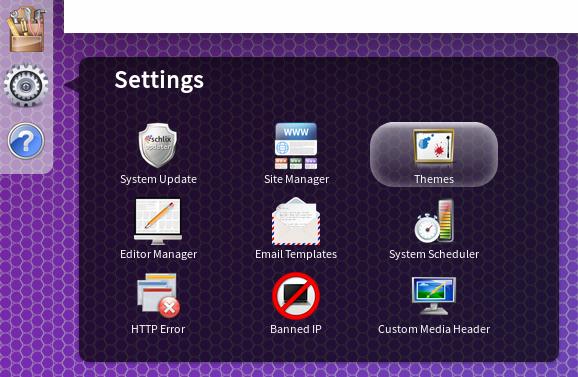
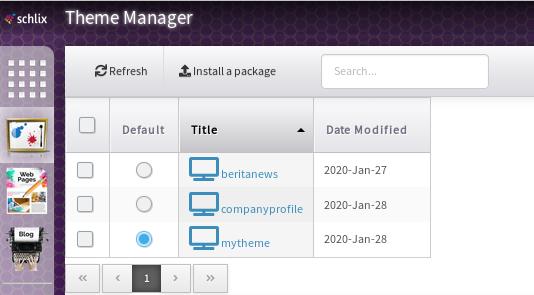
This is the part where you'll spend most of your time. Your goal will be to transform HTML5/CSS3 layouts and combine them into a SCHLIX CMS theme. Before you edit your theme, you'll need to switch the current theme to the one that you've just created so you can edit and preview at the same time. Go to Settings » Themes from the Administration site.
Then click the Default radio button on the theme that you just created.
Now you can work on your theme. Since you've switched your current test site to the theme that you created, you can preview your changes live. You can use IDE such as NetBeans, Eclipse, Aptana Studio, VSCodium, Visual Studio Code, etc.
Use the Frontend Edit Control to help you visualize the block outputs and application body.

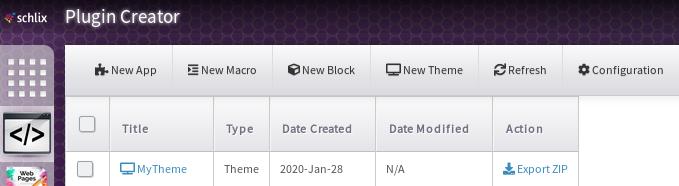
4. Export
If you'd like other people to be able to use it, you can easily click Export ZIP and it will be packaged automatically. You can then submit the ZIP file to the Extension Directory.