Installation
This is a generic SCHLIX CMS installation instruction with manual method. Related articles:
- Installation on CPanel-based Linux hosting with Softaculous Script Installer
- Installation on CPanel-based Linux hosting with Fantastico F3
- Pre-installation instruction on CPanel-based Linux hosting (manual method, without script installer)
To begin installation, extract the schlix-cms-v2.x.zip ZIP file into the folder that you desire. If you wish to put SCHLIX CMS inside a subfolder, then simply rename the extracted schlix folder to the desired name (e.g. /site). If you want to run SCHLIX CMS on the main folder, move all the files including the hidden .htaccess file to the root folder. Sometimes the .htaccess file does not appear in the file manager so you may have to use command line to move it manually.
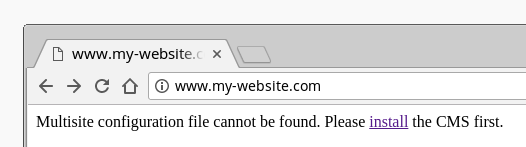
- Open your web browser and type the website address (e.g. localhost, www.my-website.com)
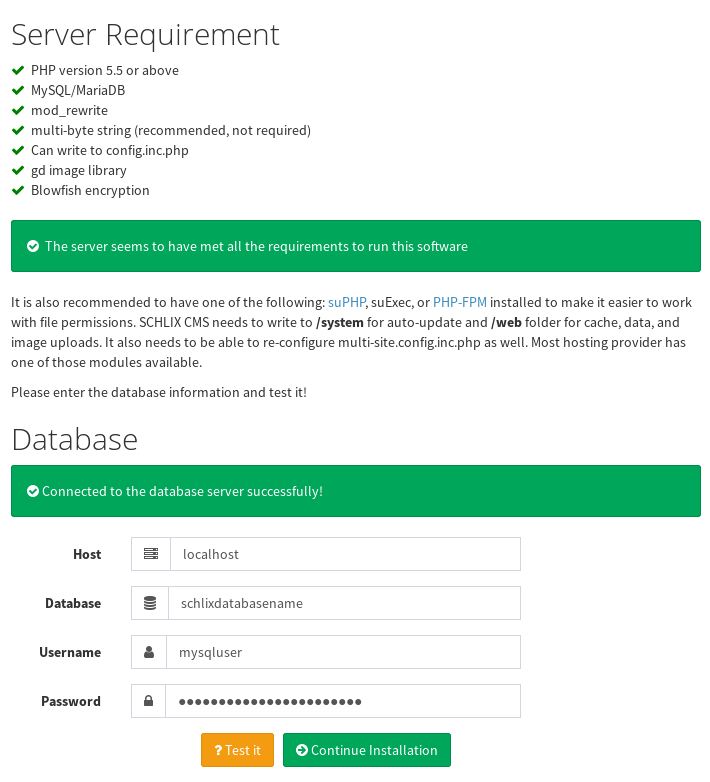
- There will be a check to ensure that the server meets the requirement. You will then be asked to fill in the database information. If the MySQL user does not have the permission to create a database, then you will need to create the database first. Click Test it and if everything works, then the green Continue Installation button will appear.
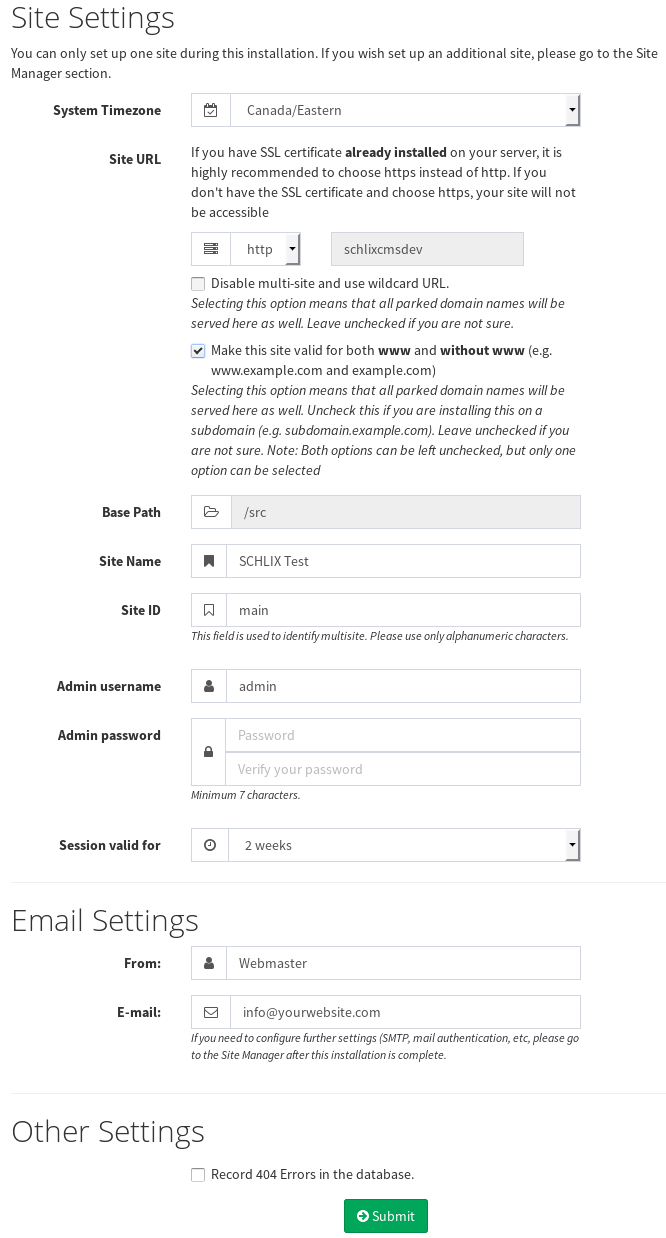
- You will then be asked several settings such as the site identifier (first multisite), site name, administrator credentials, and default e-mail sender information.
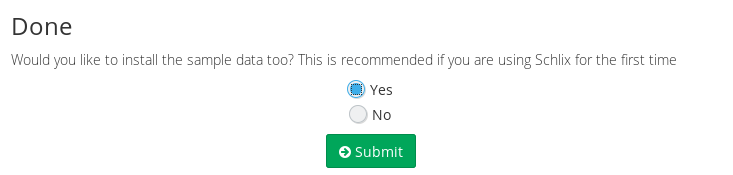
- Once you've passed this section you will be asked whether you want to install a sample data or not. For production site, choose No.
Updated - Oct 2019 - The automated installation parameters have been updated.