Manual pre-installation configuration for CPanel-based hosting
In this tutorial, we'll show you the steps that need to be taken prior to installing SCHLIX CMS v2.x in a CPanel-based web hosting. If your hoster has Fantastico or Softaculous and you would like to perform an automated installation, please skip this tutorial.
This tutorial uses the following configuration variables:
| Website URL | http://www.my-website.com |
| CPanel Username | myaccount |
| CPanel Password | Password12345 |
| Database host | localhost (Local MySQL on that CPanel server) |
| Database name | myaccount_schlixdb |
| Database username | myaccount_schlixuser |
| Database password | Password12345 |
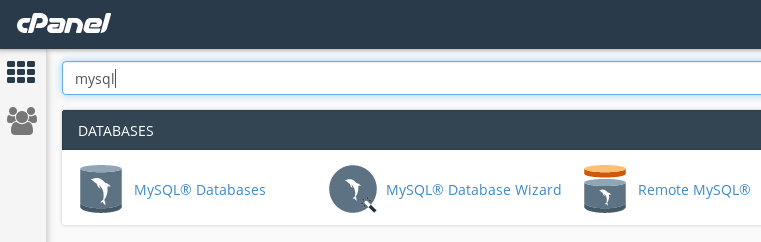
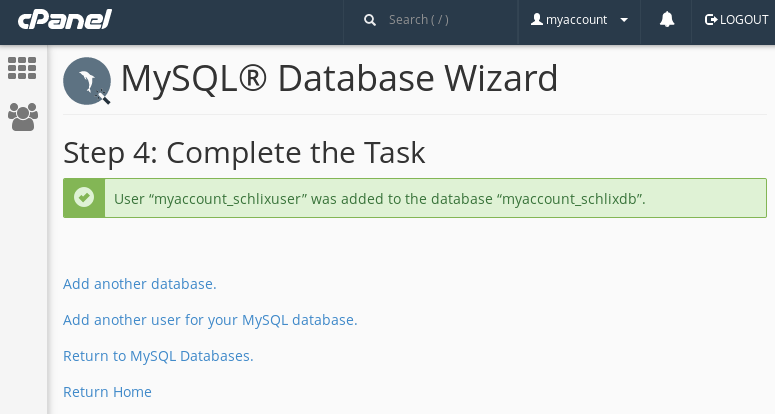
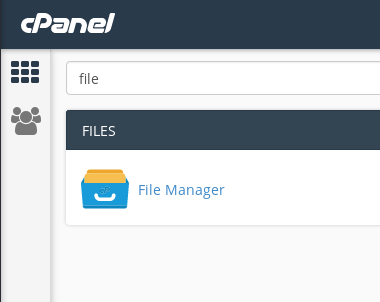
- Login to your CPanel, and type mysql, then click MySQL Database Wizard.
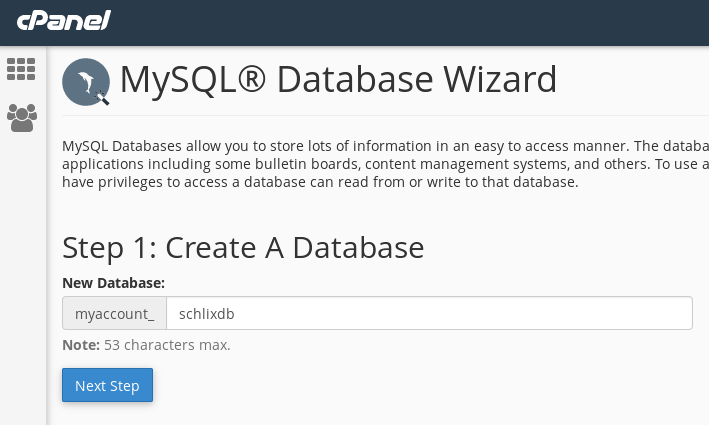
- Type the database name schlixdb
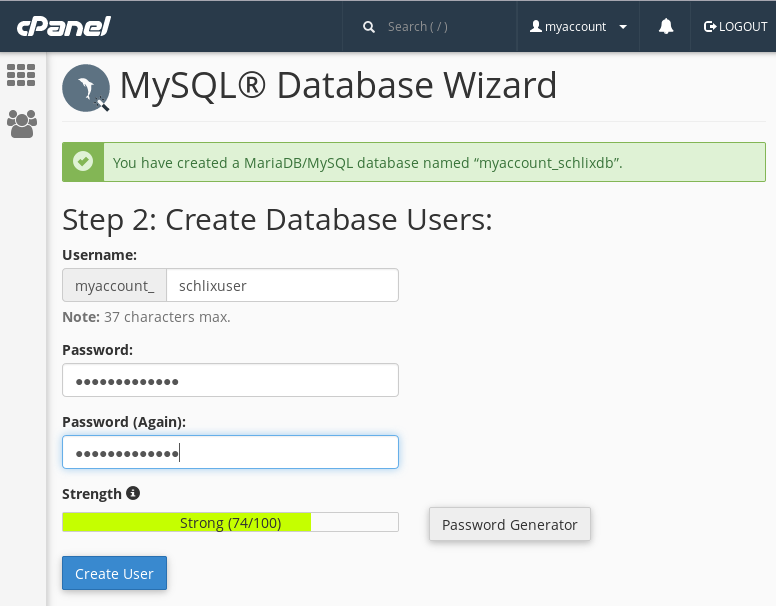
- Type the username schlixuser
- Select ALL PRIVILEGES
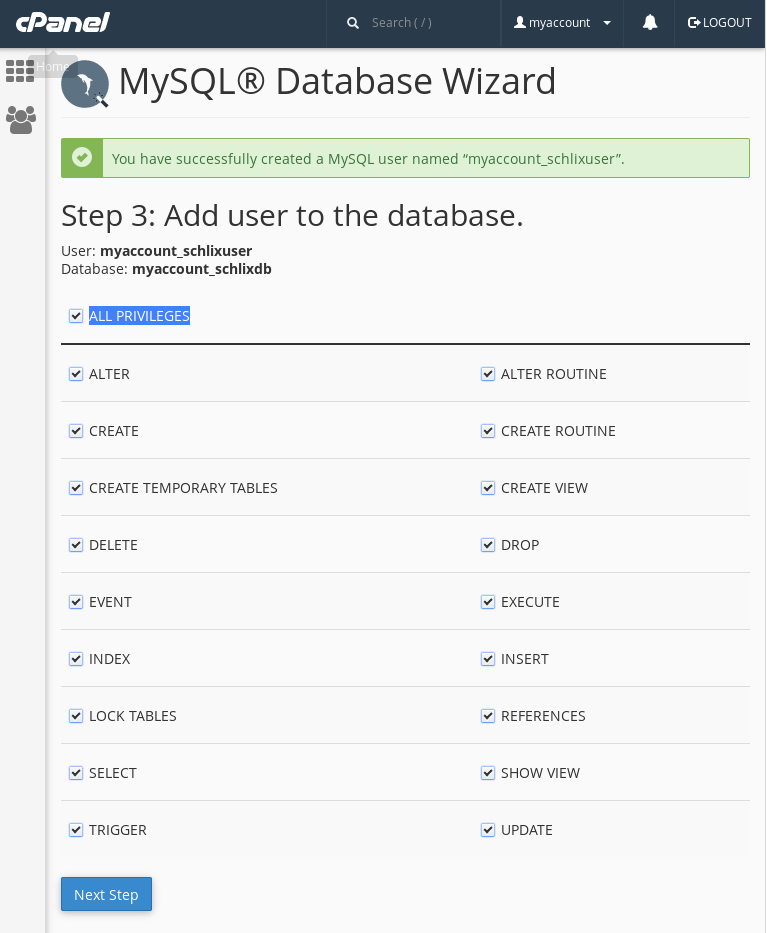
- Click Finish
- Download SCHLIX CMS and upload it with CPanel File Manager or any FTP client to /public_html
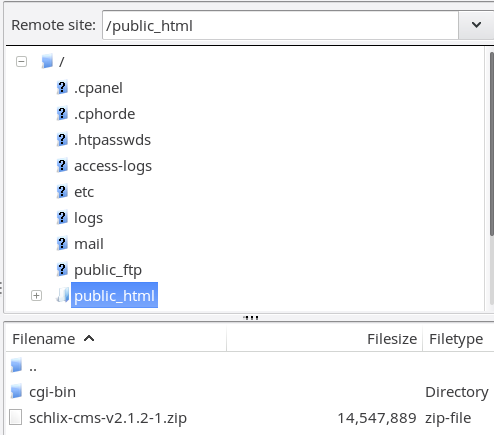
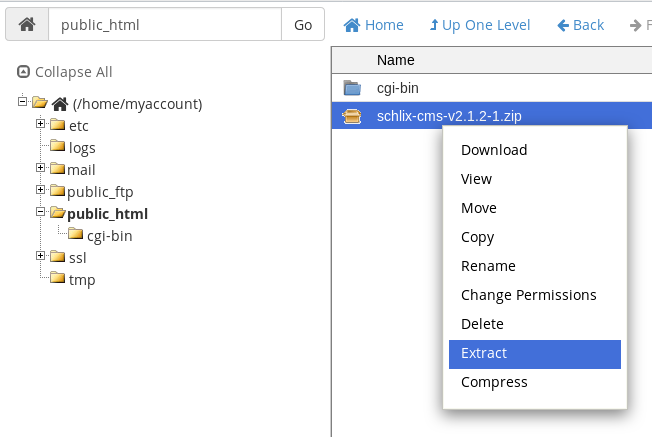
- Extract the ZIP file by right clicking the filename and then click Extract

- Installation in the root directory or a subdirectory
- To install SCHLIX CMS in the root directory where your website will be served from http://www.my-website.com, move all the files in /public_html/schlix to /public_html.
You can do this by clicking Select All, then click Move, then enter the destination as /public_html.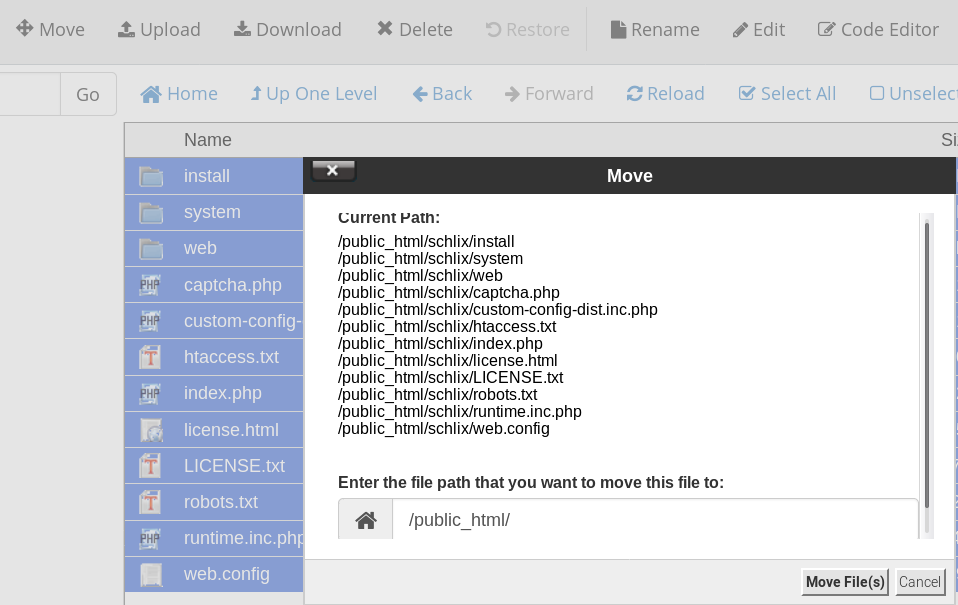
Note: In this case, the SCHLIX_SITE_HTTPBASE variable will be empty since it is installed in the root directory. - To install SCHLIX CMS in a subdirectory where your website will be served from http://www.my-website.com/site, simply rename the folder schlix to something else, e.g. site.
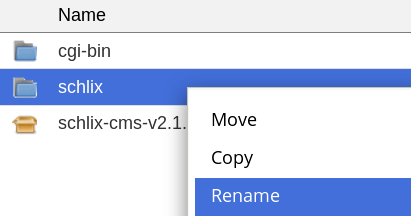
Note: In this case, the SCHLIX_SITE_HTTPBASE variable will be /site.
- To install SCHLIX CMS in the root directory where your website will be served from http://www.my-website.com, move all the files in /public_html/schlix to /public_html.
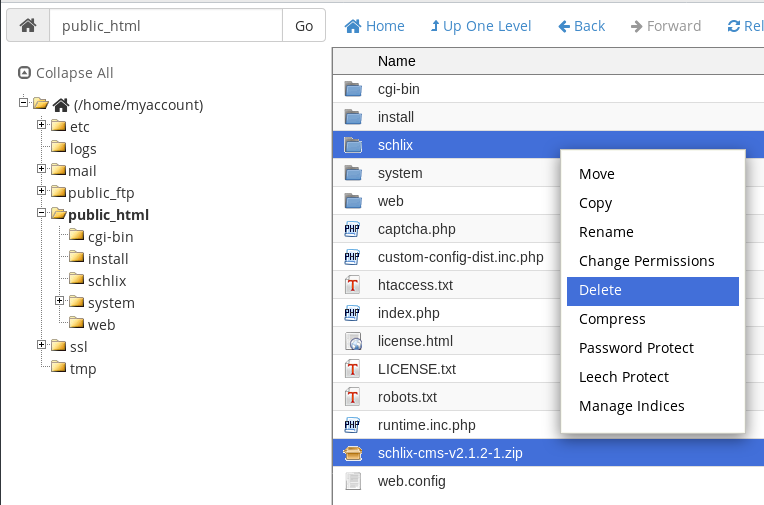
- You can now delete these two files (schlix and schlix-cms-v2.x.zip) so it won't take up any space.
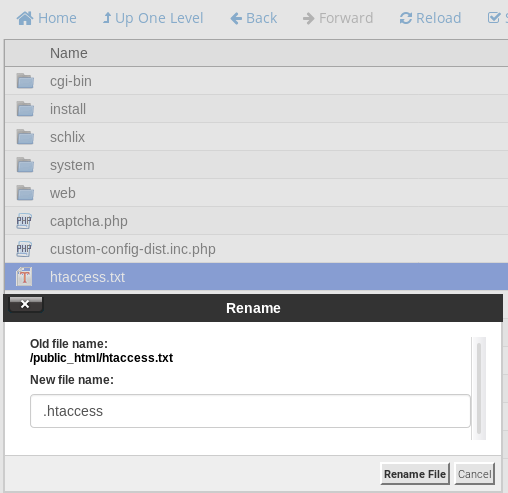
- The final and the most important step is to rename htaccess.txt to .htaccess to enable search engine friendly URL. This option is required and cannot be skipped.
- Continue the installation in your browser (next page).